I finally got around to addressing the high voltages I was showing in my amp. After considering a few potential fixes (some internal and some external) I decided on a relatively cheap and simple internal solution involving the use of Zener diodes (1N5347BG’s) in the PT secondary center tap lead to reduce the B+ voltage.
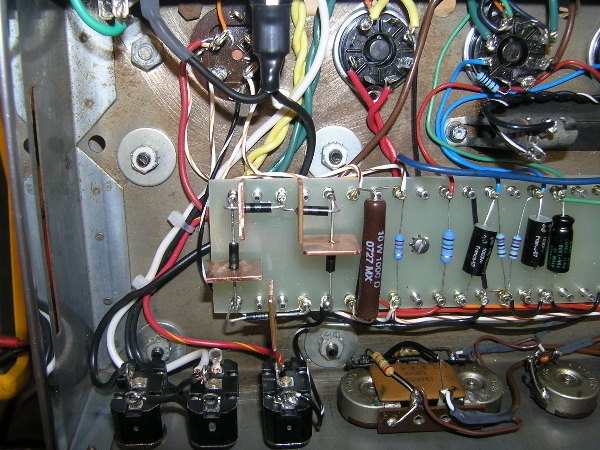
String of Zener diodes
Since I had room at the end of my turret board, I opted to use five 10v, 5w Zener diodes to drop the voltage. I used 1/16″ slugs of copper, 3/4″ square, as heat sinks for each diode. I get a voltage drop of 38.4v across the string of Zeners, which has brought my other voltages much closer to where they should be. Here is a chart showing the voltages I was measuring before and after the fix:
B15NC Voltages (PDF)
Okay, it’s been so long since I’ve posted an update it’s taken me awhile to remember how I was doing it! The strong hum issue with the amp has been fixed. Someone much more observant than I pointed out an apparent problem with my tube socket wiring. According to the schematic, pins 8 of V4 and V5 should be tied together. If you look at pin 8 of V4 in the following photograph you will notice that something is missing:
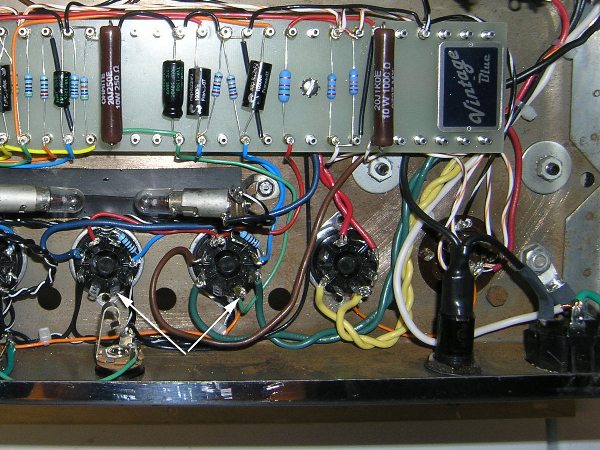
Power tube wiring
Since correcting the problem the amp runs much quieter! I’m glad the problem was discovered but I also feel kind of stupid. I supposedly did thorough double-checks of my wiring and yet I still managed to miss something this obvious!
I’m happy with how the amp sounds now, but I still plan to correct some lead dress issues with my AC lines feeding from the power cord socket.
I finished the wiring on the amp just before Thanksgiving, but haven’t had time to update the blog, due to other pressing projects. I was able to fire up the amp briefly to try it out.
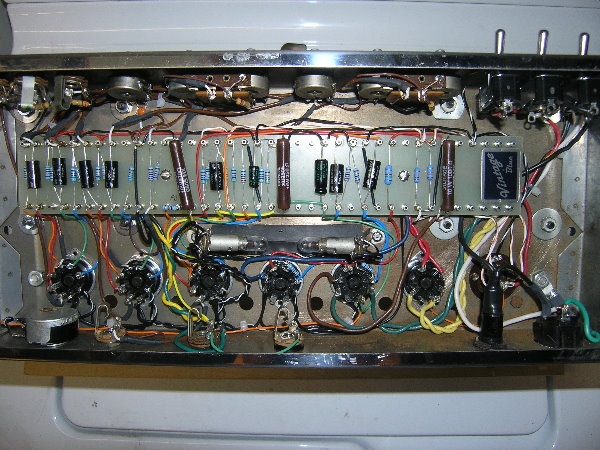
Completed wiring
Everything seems to be working but there are some issues I will need to troubleshoot once I have time to work on this again. There is a constant, low-level hum that I need to track down. I’ve done a quick check of the wiring by moving leads around with a chop stick, with no effect. I’ll need to check further but I’m hoping that at least means that my leads are run okay. I’ll also try different tubes, and double check my solder joints and component values and see where that takes me.
I also need to do something about the voltages in the circuit – everything seems to be running much too high. I’m assuming this is due to my choice of power transformer. I’ll probably deal with this problem first, on the outside chance that it’s contributing to my hum problem.
I’ve made quite a bit of progress in the last couple of days and I feel like I can see the light at the end of the tunnel. I installed the turret board in the chassis and I finished the wiring on the supply caps, pre-amp, phase inverter, tone controls, ext. amp jack and speaker jacks. I am using a 1/4″ jack for the main speaker out, so I spent extra time with the schematic to make sure I understood what I was doing. The typical standby protection will not be there, since I’m using a 1/4″ jack, so I’ve added a 10W, 470 ohm resistor across the 16 ohm output, similar to what Ampeg did on later B15N’s.
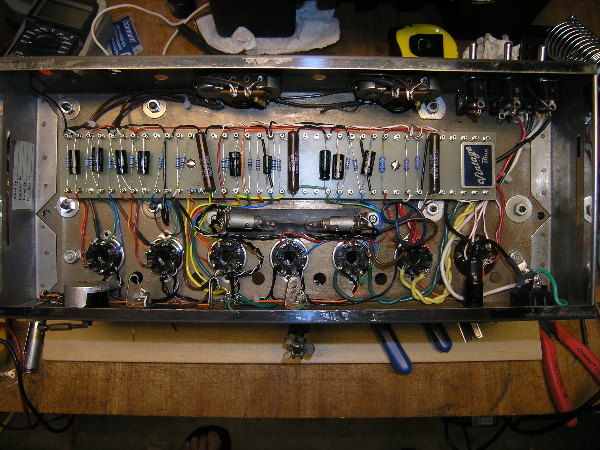
Turret board finally installed in the chassis
I believe all that remains is the input jacks, volume controls, and the last connection of the standby circuit. Before I proceed, I’m going to go back through the amp and double check the wiring I’ve done so far. I’ve tried to do checks as I completed each stage but a recheck certainly can’t hurt.
Well, it’s been awhile but I have finally made a little more progress on the wiring. Besides taking time off to work on a couple of other projects, I also had to get more Teflon wire. While I had plenty of wire here to do this project, I did not have much of a variety of colors. As I got deeper into this project I began to realize that there was a logic (duh!) to the wire colors used in the original amps. In hindsight this seems rather obvious, but as I’ve mentioned before, this is all new to me, and sometimes there are details just staring me in the face that I initially don’t catch. That is the major point of this project though, so I am continuing to learn.
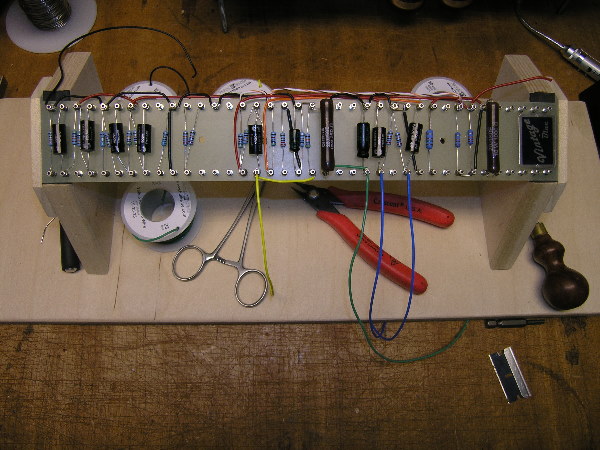
Continuing to wire the board
I am trying to get as much wiring done to the board as I can before I install it in the chassis. I am trying to only do wires that make sense right now. Others, such as some of the control leads, I think will be easier to do after the board is installed.
The new power resistors arrived today and I swapped them out with the ones I originally had on the board.
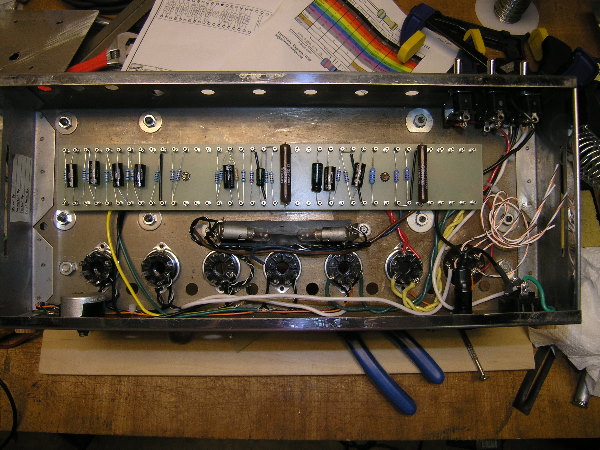
New Ohmite power resistors
It may seem like a silly detail but I am so much happier with how the new ones look. The previous ones had been bothering me ever since I put them in.
(edit: I just had to replace the new 1K resistor with another new one. I just double checked it with a meter and it read about 10M to begin with, and kept climbing the longer I kept the test leads on it. I’m pretty sure I checked it before installing it, so I guess I damaged it while soldering it. I was extra careful with heat-sinking the leads on the latest one and it seems fine)
I finally got the output transformer potted and then remounted onto the chassis. The 3 primary leads were too short so I had to extend them. I also soldered leads to the multi-cap and just curled them up for now. With that done I installed the fuse holder and finished wiring the power supply.
Before going much further I needed to get the 2 logo lamps installed so that any future wiring could be routed around them. Since this started out as a B15NF, the lamp holders were different from what was used in the B15NC. These holders were originally mounted to the larger B15NF printed circuit board. Since I am using a turret board that is much smaller, I had to find a different method for attaching the holders. A couple of new holes and some #4-40 machine screws took care of that. I also installed a new rubber light shield over the logo slot, since the original had come loose and was in poor shape.
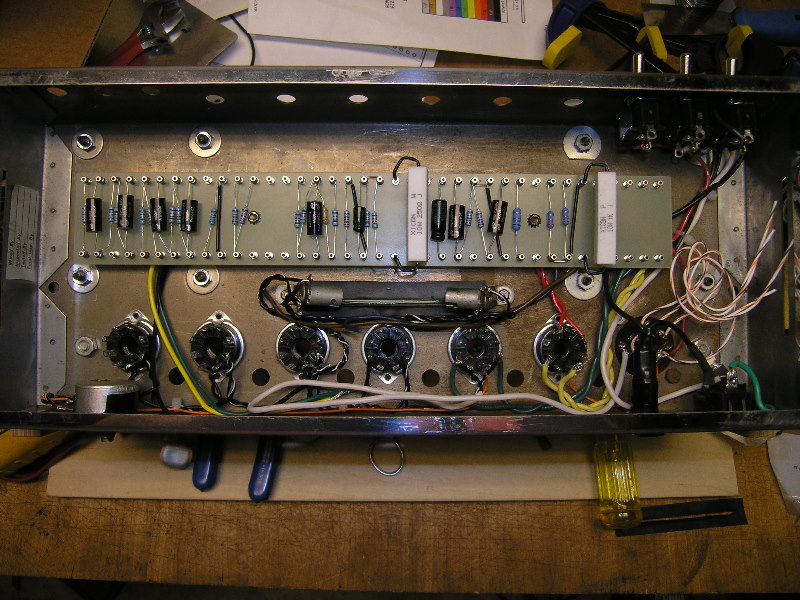
The chassis gets a little more crowded
This was intended to be a learning experience for me and so far it has been. I look at what I’ve done so far and sometimes see things that I wish I had done better. There have been a couple of things already that I have gone back and changed. The key has been whether I thought I could perform the change without ultimately making things worse. One thing that has been bothering me for quite awhile are the (2) 10W resistors – they are larger than what I was expecting and I have never been happy with how they look on the board. I will be replacing them with shorter ones which should arrive later this week.
Well, I came close to getting all the components soldered to the turret board today. Unfortunately, I miscounted and did not order enough .022 mf capacitors (needed 7, ordered 6). For this project I decided to go with slightly higher quality components, so I was using Solen fast caps for all but the electrolytics (which are Sprague Atoms). I have other caps here that I could pull from but I really don’t want to mix brands. I’ll just have to wait until I get the last one in. That’s what I get for not ordering a few extra to begin with!
Here’s what the board looks like with everything except the one missing cap:
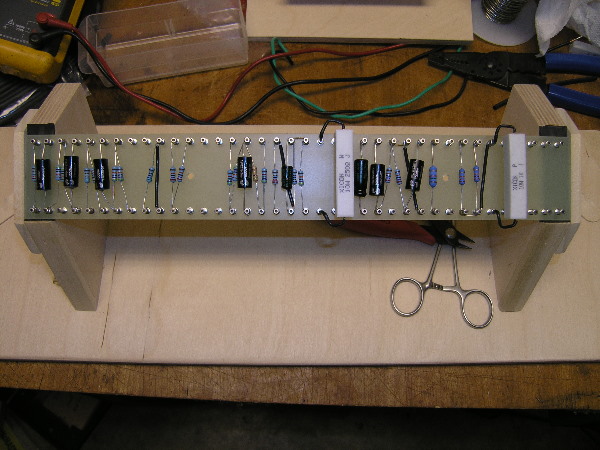
New turret board w/components
For comparison, here is the board on a 1964 B15NC:
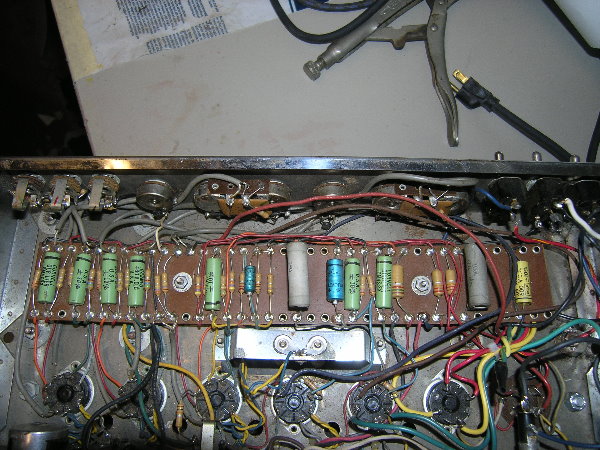
1964 B15NC eyelet board
I am close to the point where I need to start installing components on to the new turret board. Before I do, I thought I would show a photo of the board while it is still nice and untouched. It is made from 1/8″ thick G10/FR4 board, so it feels nice and strong. This was my first time making a board and I’m really pleased with how it turned out.
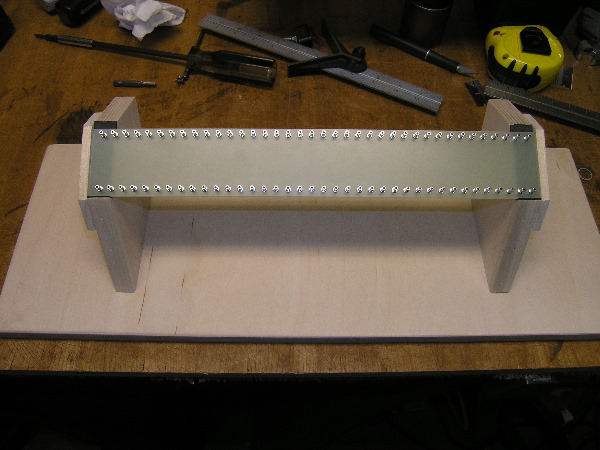
New turret board
I got a little more of the power transformer wiring done tonight, including partially wiring the switches, as well as the power cord socket. I also made some improvements to the wiring I had done previously.
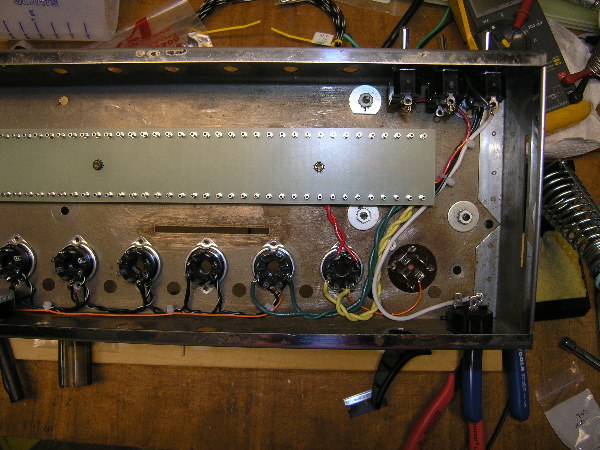
Additional power supply wiring


